
A solar panel is often expensive. To avoid buying it, find out here how to build it by yourself … with soda cans!
John, who needed extra heat for his house, decided to build his own solar panel. The idea? Cans, assembled in long tubes, accumulate air that heats up when the sun shines and then blows into the house (here is a diagram to better understand the process).
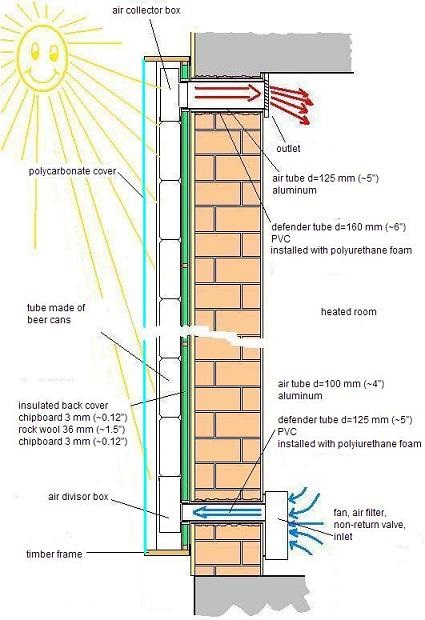
Solarcellsales: John, How did you get the idea of building a solar panel with cans?
John: I found the idea on the Internet. At first I could not believe that a panel of this type could heat the air as efficiently even when the outside temperature was around 0 ° C. So I had to try and check for myself. .
Is it hard to build?
No, everyone can do it by having basic tools on hand. You can build this solar panel in 4 or 5 days, spending only 2 hours a day.
However, when cured, the cans need a little time to dry. I made my solar panel in 3 or 4 weekends, as a simple pastime.
What is the power of the solar panel in cans?
It depends on its size. For a 2 m2 panel, you can have a maximum power of 2 kilowatts when exposed to bright sunlight.
It is good to make an auxiliary heating in a room of 20 or 30 m2. If you also want to make your solar panels based on cans, this guide is for you.
Hardware you will need
– Can of soda and / or beer (about 225)
– Glue resistant to high temperatures
– Several planks of wood or plywood (15 mm)
– A plate of Plexiglass (3 mm)
– Rock wool (20 mm)
– Heat resistant black paint
– A fan (computer fan, to start)
– Two aluminum or PVC pipes
Note:
The dimensions of wood (or plywood) boards, Plexiglas plate and rockwool depend on the size of your future solar panel.
To be effective, count for example a 2 x 1 m board, or at least 15 columns of 15 cans.
1) Clean the cans, both inside and outside.
2) Enlarge the hole in the top of the bobbin (the one by which you drink) by cutting the aluminum from the center to the sides. Fold the cut parts inwards. Use gloves to avoid cutting.
3) Drill three large holes on the bottom of each bobbin using a needle.
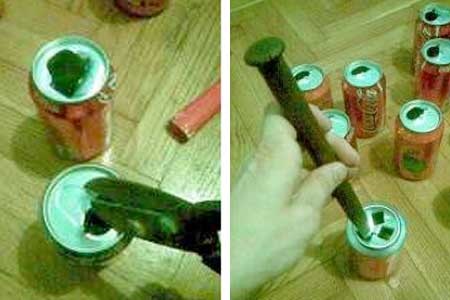
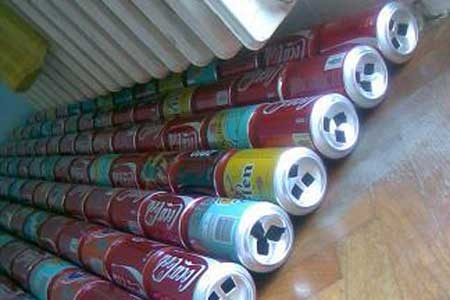
4) Glue the cans together with the high temperature resistant glue. The top and bottom of each can fit together. Illustration in this video:
5) Assemble the cans in several columns. Allow each column to dry by holding it against a fixed support to keep it straight
6) Cut 4 planks of wood / plywood to create the chassis of the solar panel (in which the cans will be placed). Assemble them into a frame.
Width of the frame: it must match that of all the columns of cans. Length: it must be greater than the columns of cans. Other boards will then “fix” the cans inside the chassis. (See step 11) •
7) Cut a wood / plywood board that will form the rear part of the chassis. It should apply perfectly to the framework created in the previous step. You get a “box” without lid.
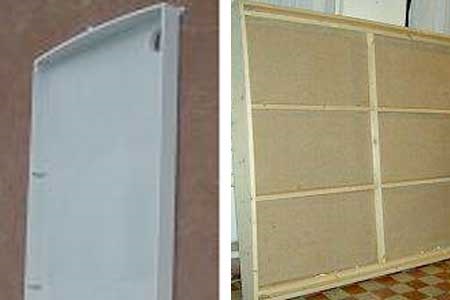
8) For more waterproofing, siliconer (with heat resistant glue) the edges of the chassis.
9) Drill two large holes in the bottom of the chassis. A first in the top right corner, a second bottom left. These are the two air inlets. Nb: the size of the holes must match the size of the two hoses requested in the equipment list. The pipes will fit into the holes.
10) Cut two wooden boards: they will be positioned inside the chassis, in width, on both sides of the cans. Then puncture them with as many holes as you have columns of cans. Pay attention to the dimensions and spacing of the holes. Drill holes approximately 55 mm in diameter (depending on the diameter of the cans). The spacing between two holes corresponds to the space between two columns of cans.
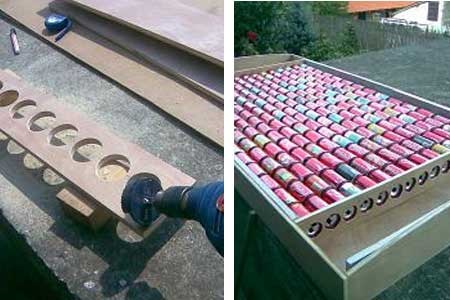
11) Fasten the two perforated boards to the inside of the chassis. They will have to hold the columns of cans.
12) Add the rock wool to the bottom of the “box”, leaving both air inlets free.
13) Attach hooks to the back of the chassis that will hang the solar panel on the wall.
14) Paint the cans in black, then position them in the chassis.
15) Two empty spaces remain in the chassis, on either side of the columns of cans. Cover each with a black painted wood / plywood board.
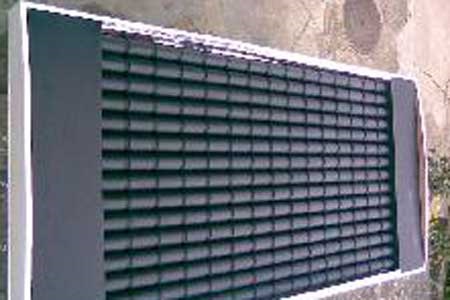
16) Attach the Plexiglass plate to the front of the chassis, with a maximum seal.
17) Your solar panel is almost finished. Check that it is working properly before fixing it to the wall by measuring the temperature at the air inlet and outlet of the panel.
18) Secure the panel to the wall.
19) Drill two holes in the wall corresponding to the air inlet and outlet of the panel.
20) Place the aluminum / PVC pipes in the holes. They allow air to circulate between the solar panel and the house.
Note: To improve air diffusion, you can also add filters on both holes and a check valve on the one dedicated to the air intake.
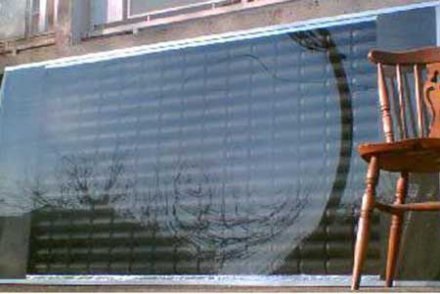
Your solar panel is now ready for use!
Additional Resources
http://www.terraeco.net/Fabriquez-votre-panneau-solaire,56410.html
How Many Solar Panels Are Needed to Power an Average House?